Digital Photography and Imaging WEEKLY POST (GCD 61204)
Digital Photography and Imaging
(GCD 61204)
WEEKLY POST
NAME: GUAN YAXIN
I.D: 0370687
COURSE: DPI
GROUP: 1
EMAIL: 0370687@sd.taylors.edu.my
E-PORTFOLIO: https://guanyaxin370687.blogspot.com/2024/07/digital-photography-and-imaging-gcd_5.html
Week1
lectures
This is the first time for me to get to know this course. The teacher introduced the content we would learn and the works we would produce. With the teacher's explanation, I got to know the general content of this course and the knowledge to be learned next
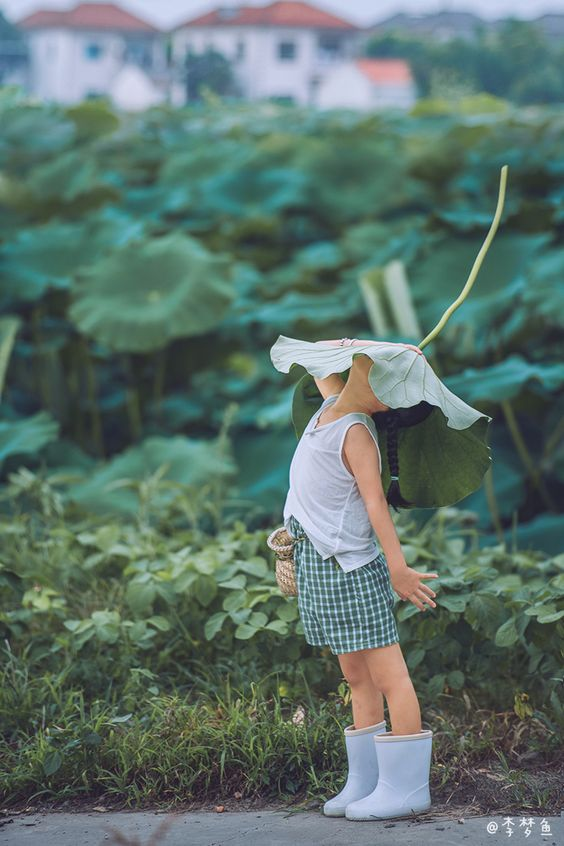
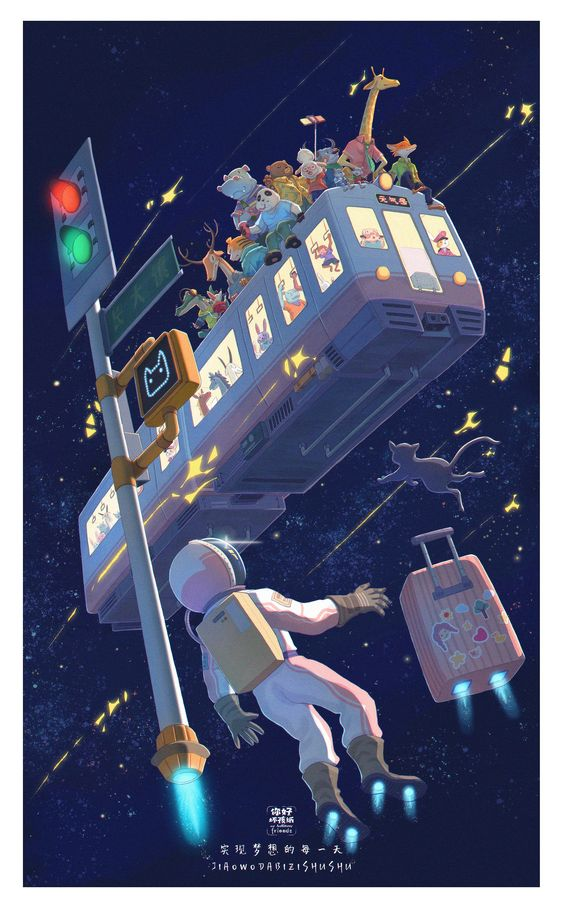
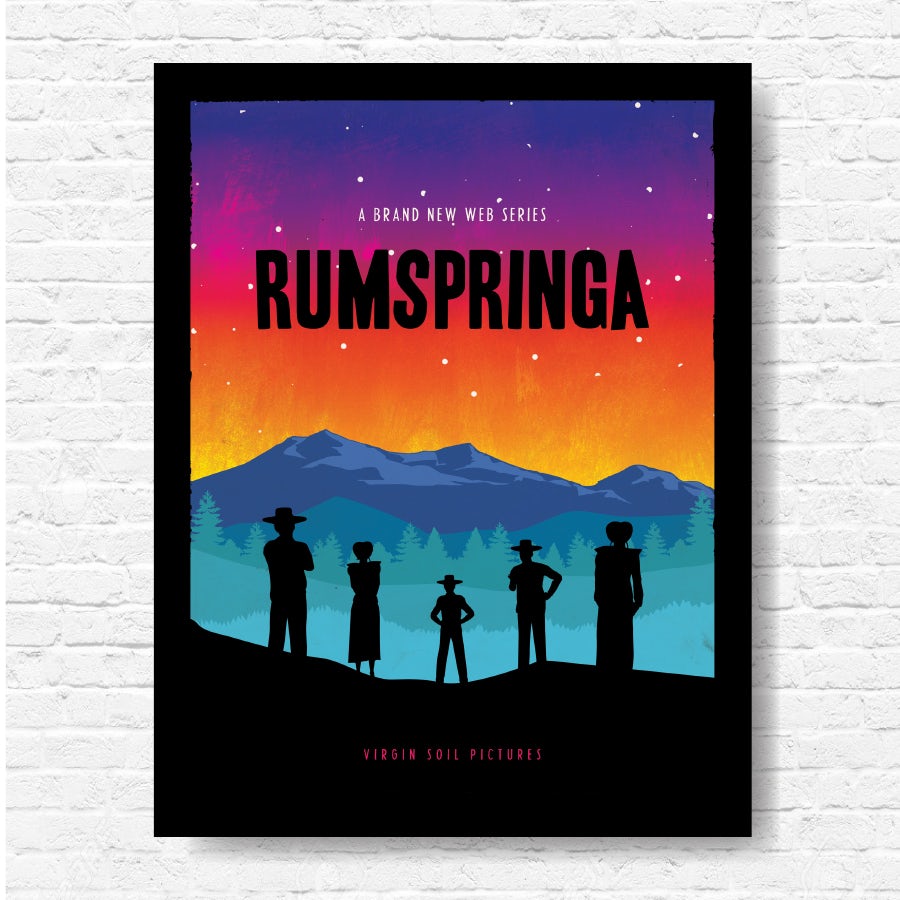
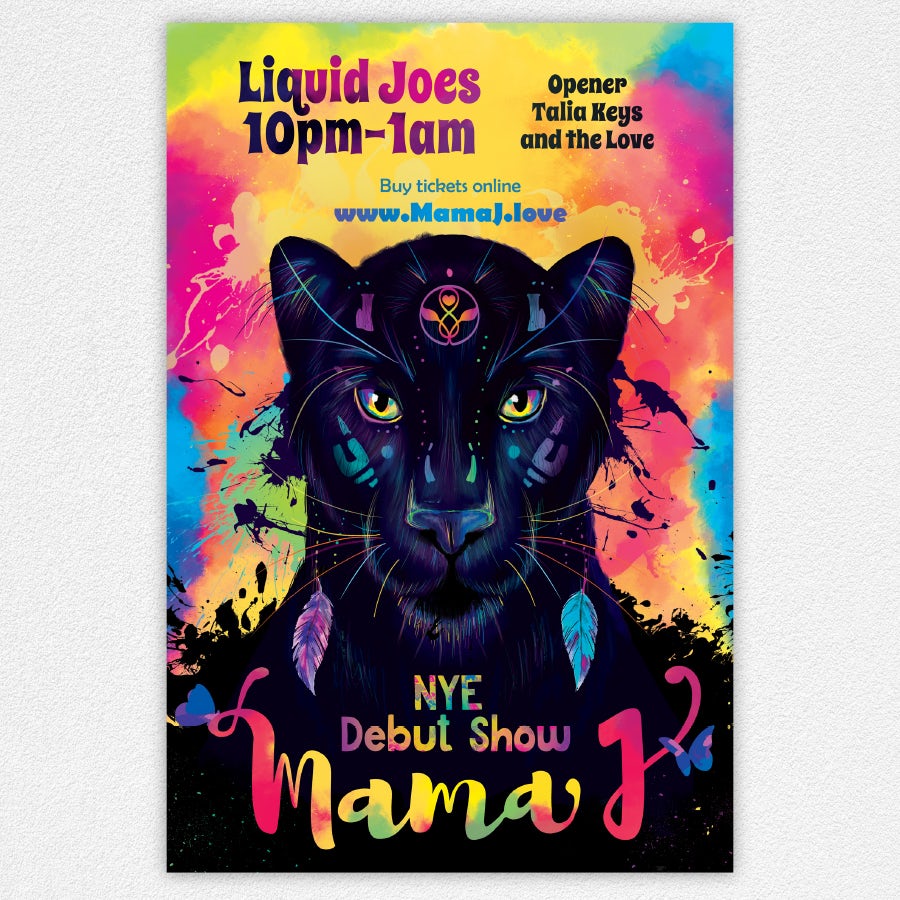
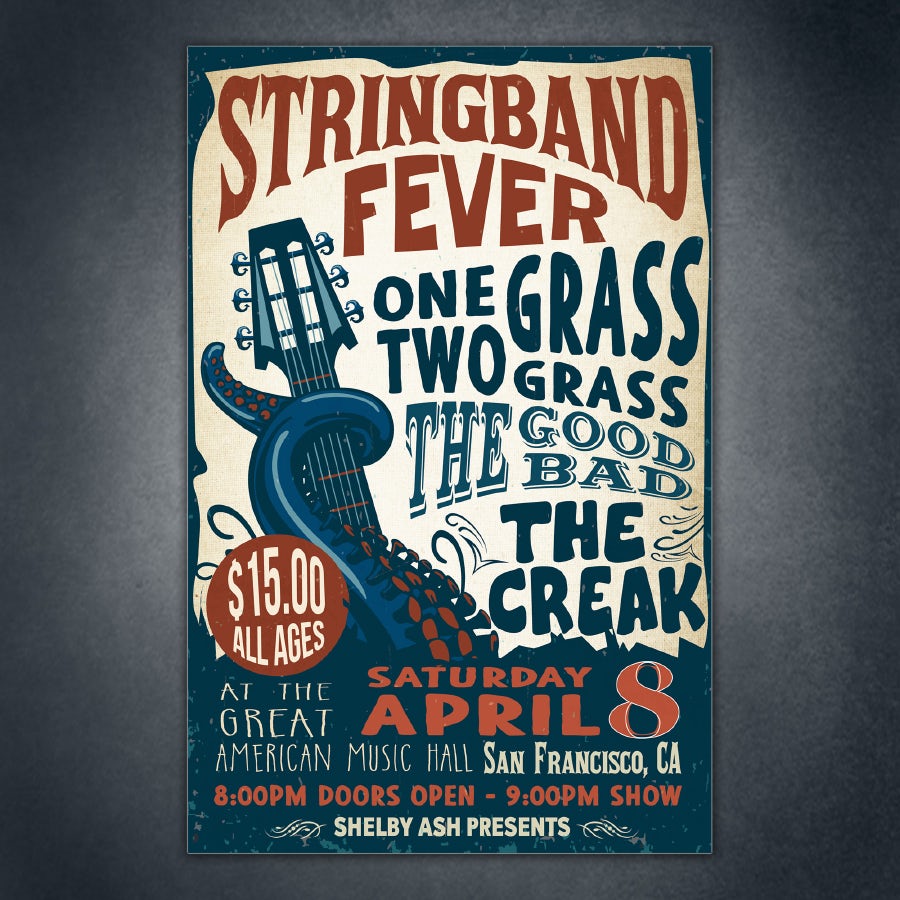
In the first week of the course, the teacher asked us to find three pictures and appreciate them, which will help us to make the next collage
tutorial


practical


reflection
In this lesson, we got to know the course of DPI and the next course we will learn. I am very much looking forward to the course of collage in the future
Week2
lectures
In the second week of the class, the teacher asked us to make several collages, select and identify the collage design elements to cut, and synthesize them into their own concepts and stories, and finally submit them to the teacher for review. The teacher also attached relevant videos so that we could finish our homework better.
I made several collages and handed in the homework as follows.
tutorial

A key element to any good composition is a strong focal point, as it helps your viewers’ eyes naturally settle on the important pieces of your design first.

SCALE & HIERARCHY
Scale is often used to help communicate hierarchy by drawing attention toward and away from certain
elements, thus signifying their importance to the communication.

The Rule of Thirds is a way to:
Use composition techniques that are in line with what’s naturally pleasing to the eye.
Creatively use negative space.
Create conversation between the subject and background.

The Golden Ratio is a mathematical ratio. It is commonly found in nature, and when used in a design, it fosters organic and natural-looking compositions that are aesthetically pleasing to the eye.
practical
1. PRE-COMPOSITION #1
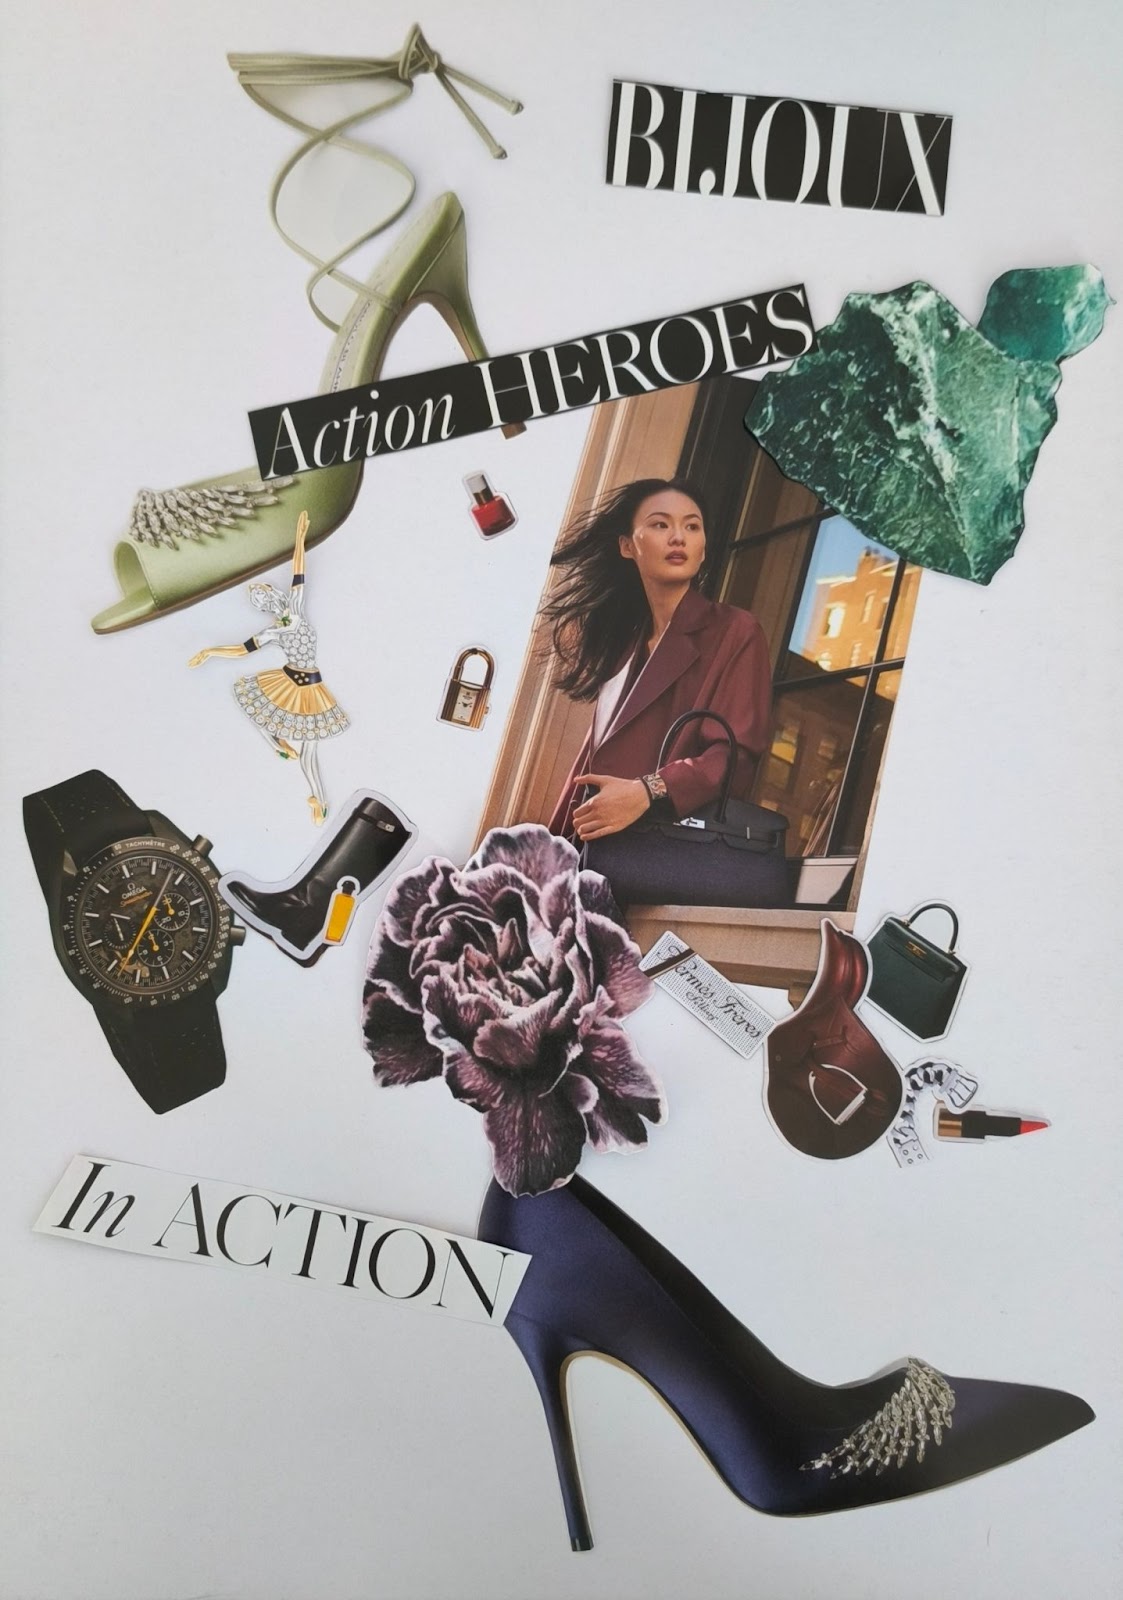
2. PRE-COMPOSITION #2
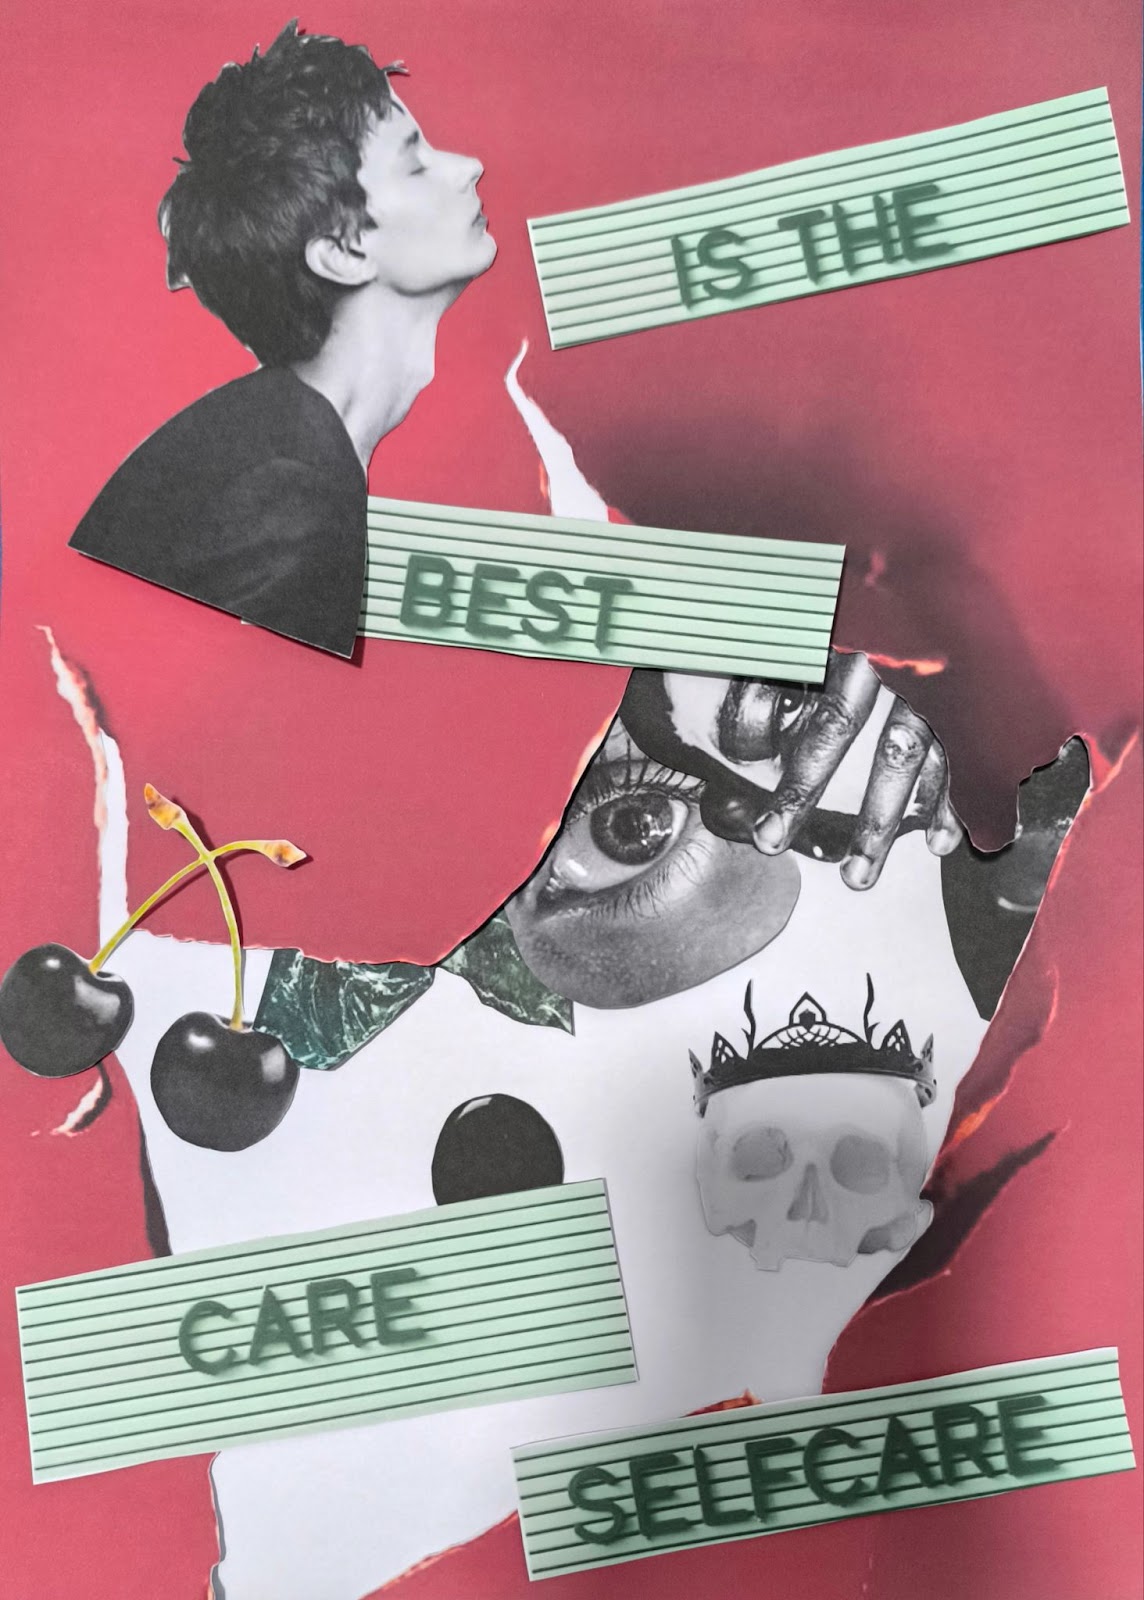
3. PRE-COMPOSITION #3
reflection
I learned the online course prepared for us by the teacher, learned about the making process of collages, and made collages with different compositions according to the teacher's requirements. I learned a lot and look forward to the next class
Week3
lectures
In the course of the third week, we came into contact with PS. With the teacher's explanation, I had a preliminary understanding of some functions of PS. In this week, we need to use electronic materials to make digital collage. The teacher gave us some electronic material that we were asked to download onto our computers and included a video tutorial demonstration as a reference to create our own digital collages. The size of the canvas is a4 (vertical), and the quantity requirement is three sheets. After I submitted the homework, the teacher gave me feedback and used the first picture to edit the exercise for the fourth week.
tutorial


Lasso Tool
The Lasso Tool allow you to draw and pinpoint specific areas of a document.
If you like drawing with pencil and paper or cutting and pasting objects from
a photo, then you will love the Lasso Tool.
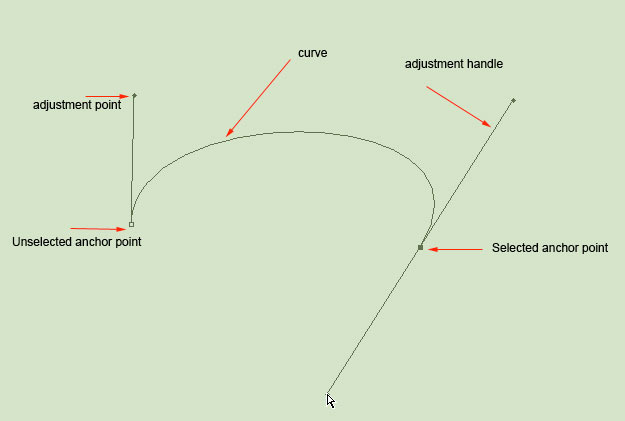
Pen Tool
When it comes to actually creating a path from scratch, the pen tool is the most common option.
The pen tool is the way that you add these points and the way you drag the tool as you create the
points determines how they will look.
Remember, the fewer points, the smoother a path will be.
practical
1. COMPOSITION #1

2. COMPOSITION #2

3. COMPOSITION #3

reflection
In this lesson, we have touched on Photoshop. With the teacher's explanation, I knew the difference between ps layers and further understood the composition. The teacher also gave feedback on the homework of last class. I will apply the teacher's advice to the homework in this class
Week4
lectures
In the fourth week, we came into contact with the filter tools and pen tools in PS. Through the teacher's explanation and the assistance of teaching videos, I mastered these tools and applied them in my homework. The contents are as follows


tutorial
Adjustment Layer
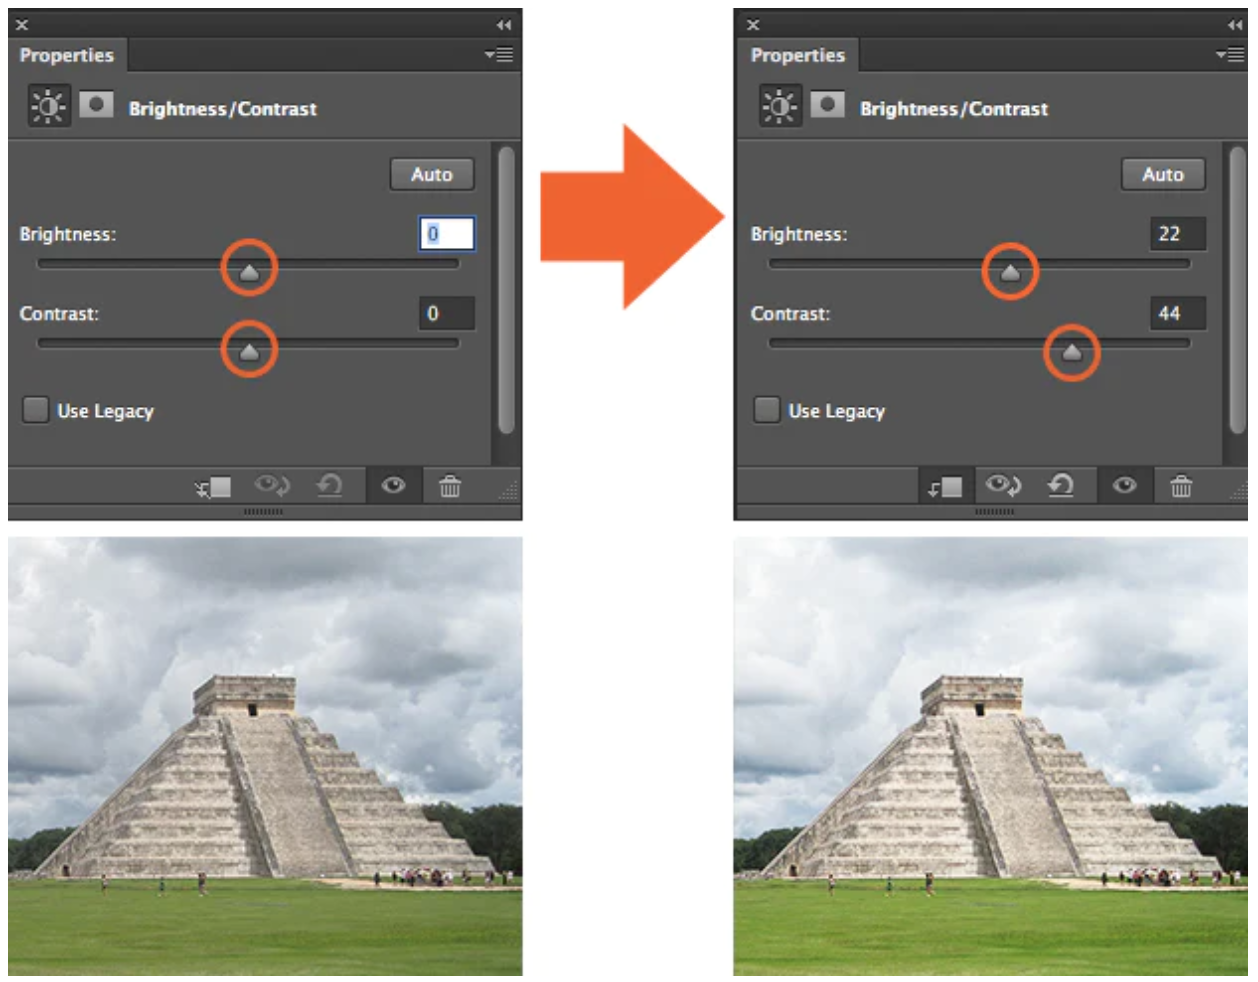
1. BRIGHTNESS / CONTRAST
Brightness / Contrast makes adjustments to the tonal range of your image.
The brightness slider is for adjusting the highlights in your image and the Contrast slider is for adjusting the shadows in your image.
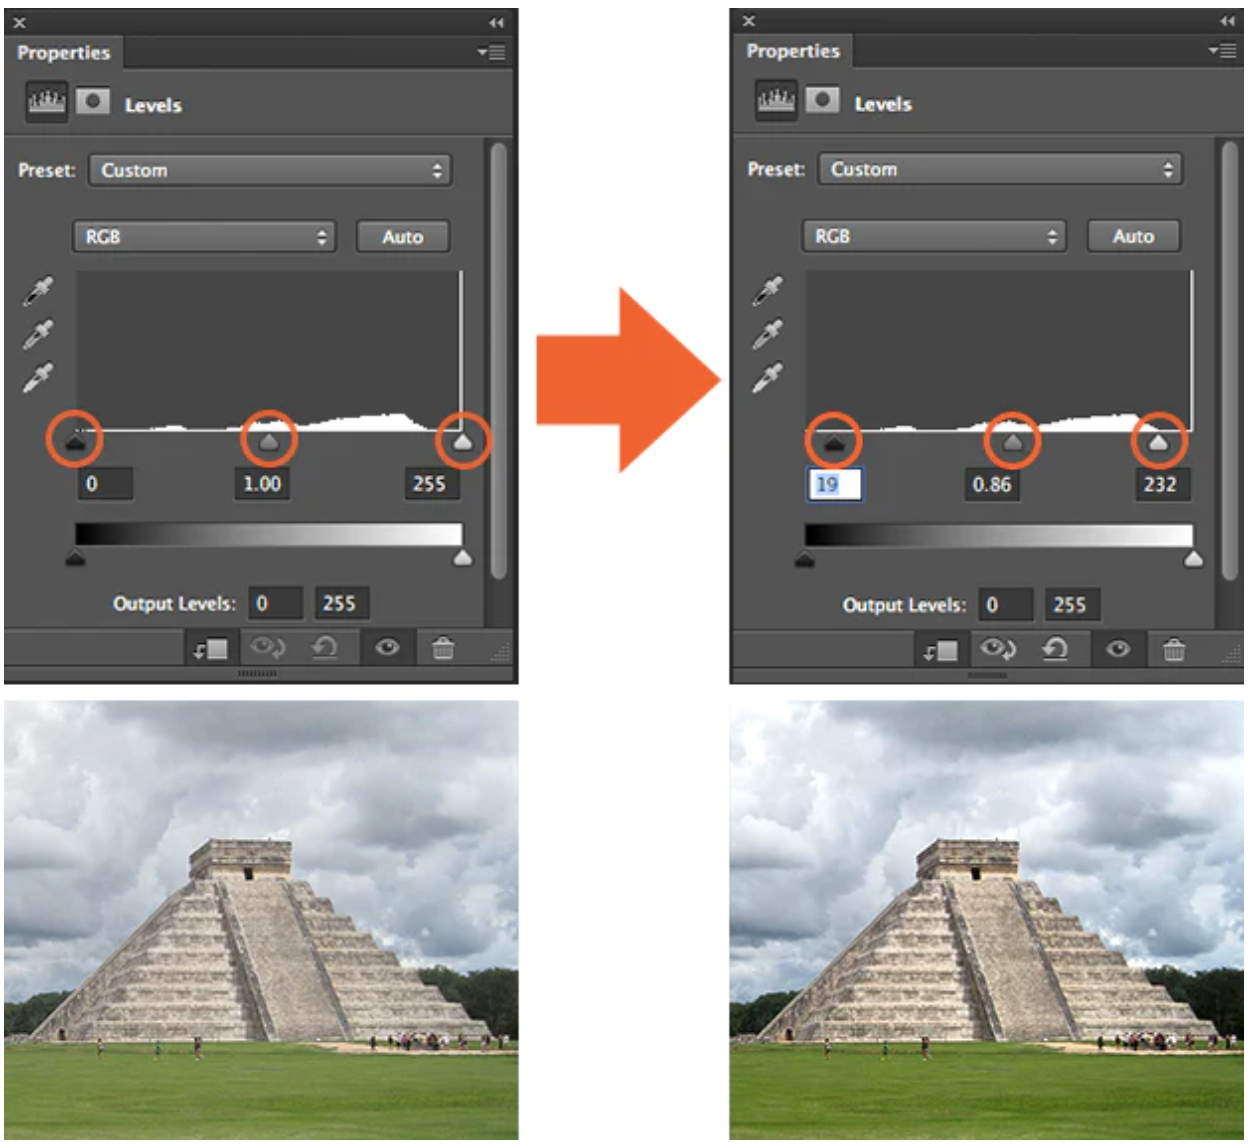
2. LEVEL
Levels modify the tonal values in an image by adjusting the levels of the shadows, midtones, and highlights.
It’s one of the most used tools in the adjustment layer panel, and using just a touch
of levels will go a long way in correcting your images.
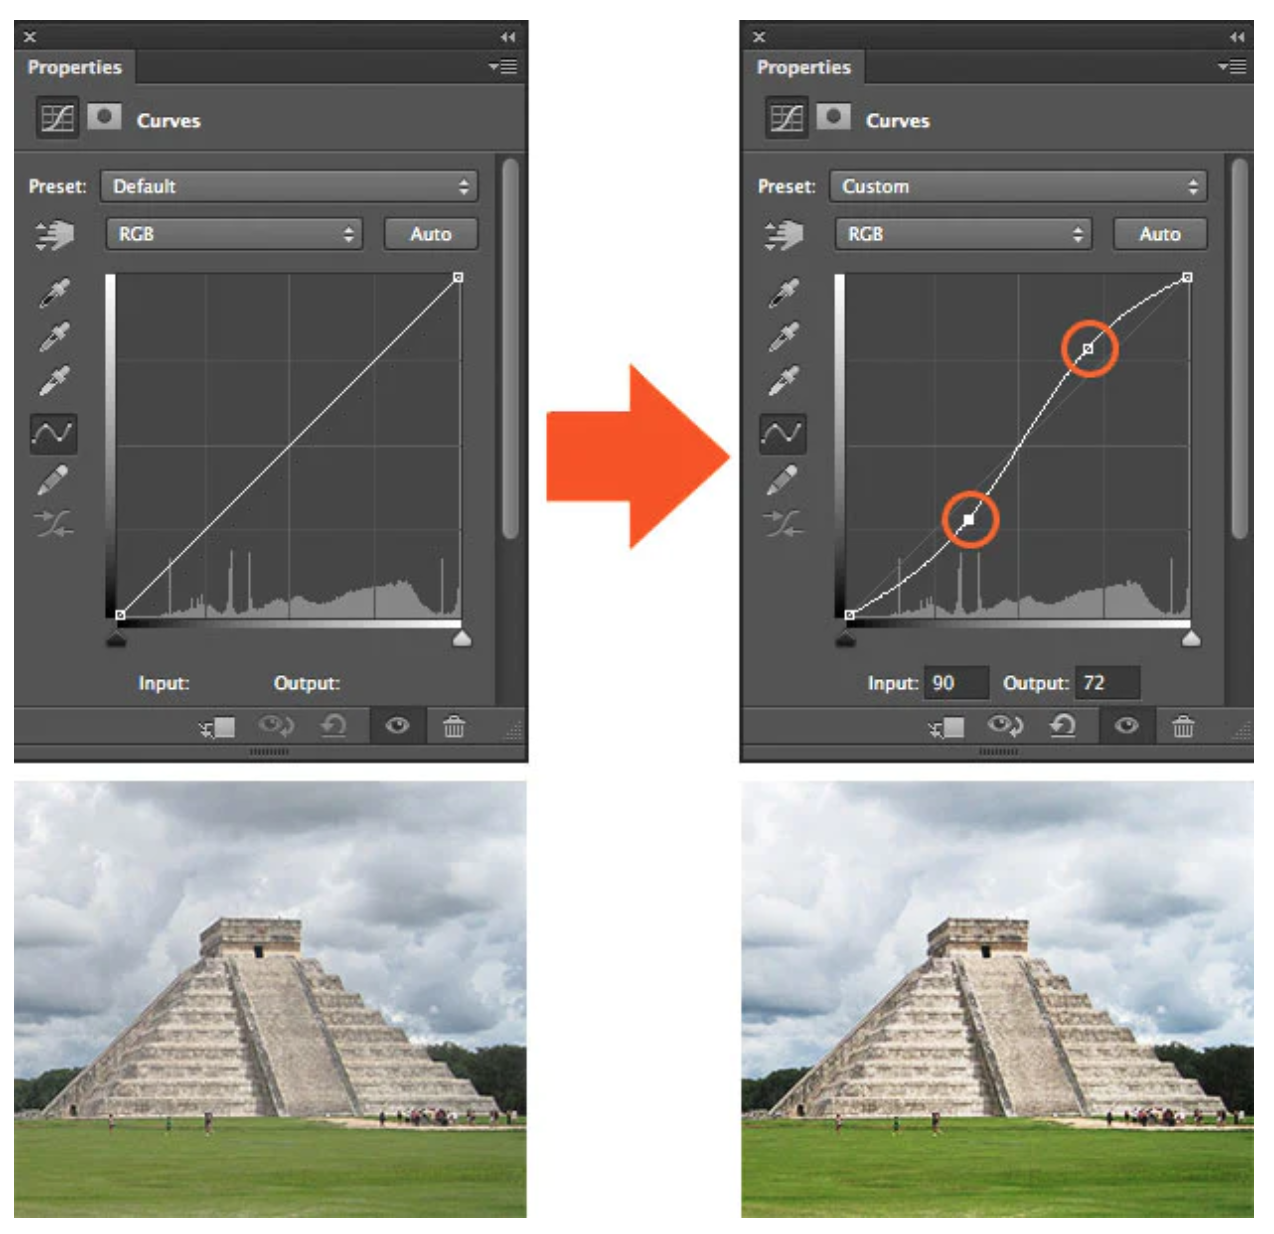
3. CURVES
Curves let you adjust as many points as you want throughout the entire tonal range of your image, and is the most powerful and precise tool for editing the tones in an image.
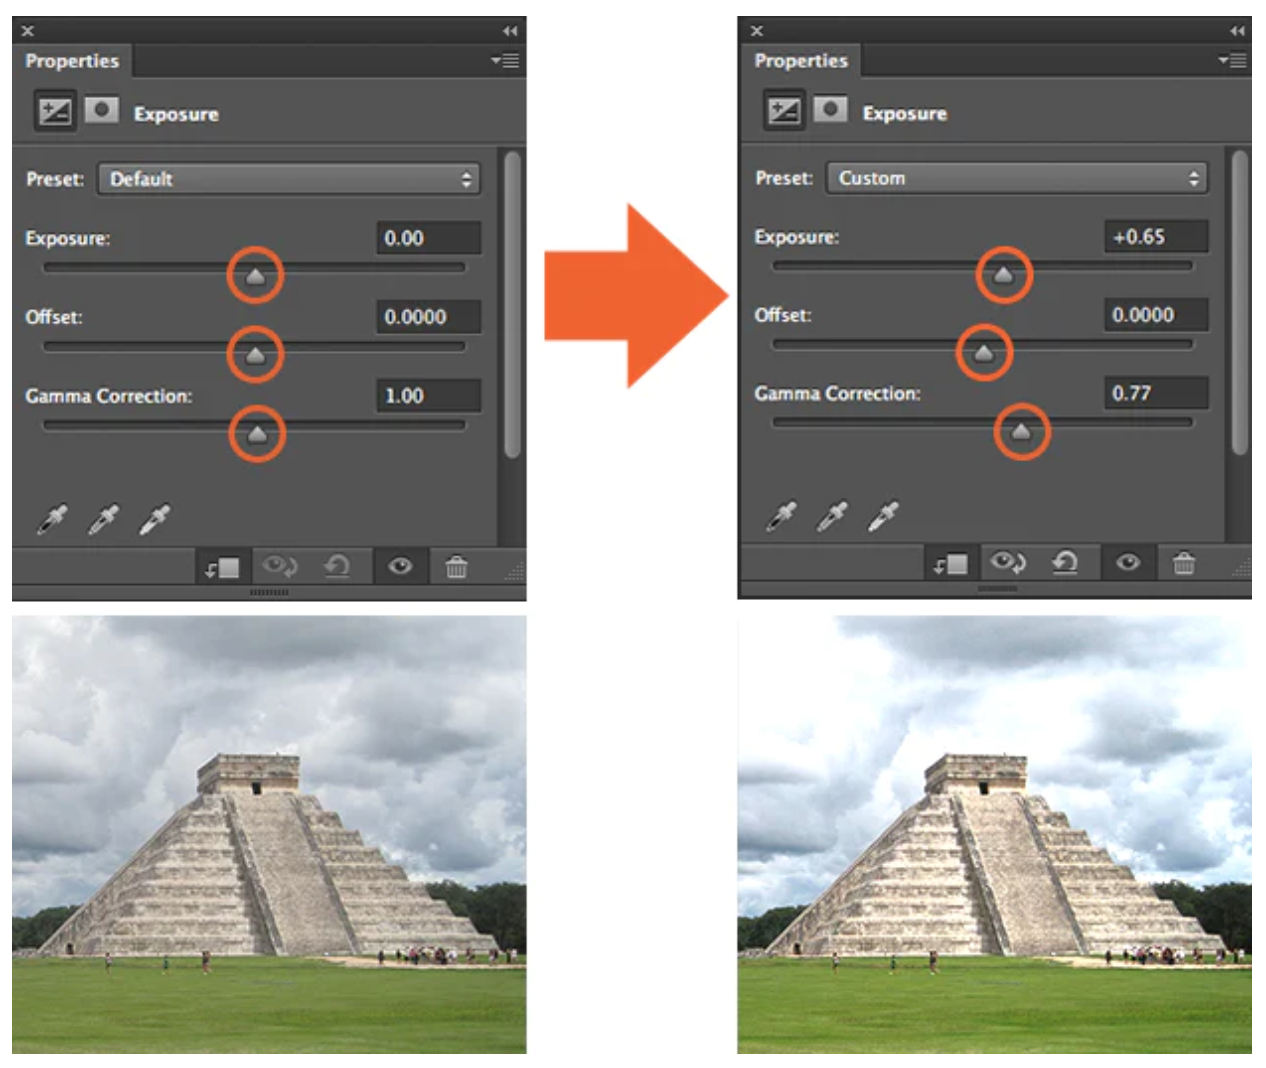
4. EXPOSURE
Exposure lets you adjust exposure levels with three sliders: Exposure, Offset and Gamma.
Exposure will adjust only the highlights of the image, Offset adjusts the mid tones and
Gamma will adjust the dark tones only.
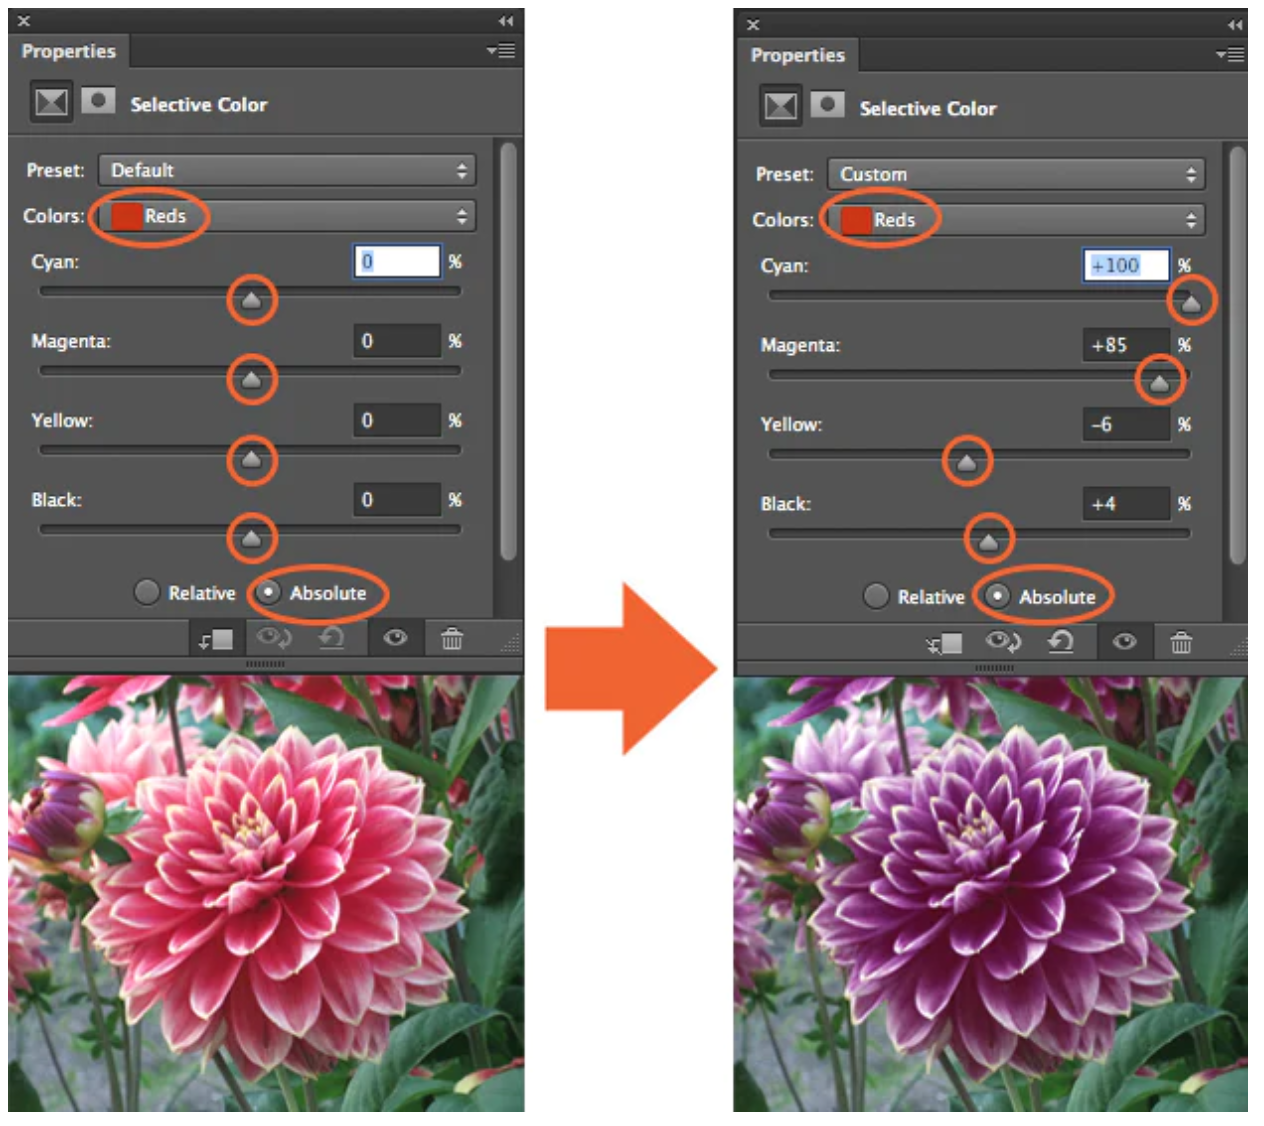
5. SELECTIVE COLOR
The Selective Color adjustment layer selectively modifies the amount of a primary color without modifying
the other primary colors in your image.
practical
WEEK 3 - PEN TOOL EXERCISE (BEST COMPOSITION)

DESCRIPTION:I learned how to make collages between images by morphing, resizing,
and stretching them
WEEK 4 (ADJUSTMENT LAYERS & FILTERS )

DESCRIPTION:I learned how to bring up the color saturation, contrast, balance of the
interface to adjust the effect of the picture
reflection
The teacher selected a picture from the homework of last class and asked us to add a filter. I learned to use the filter function of PS, and I processed several photos after class
Week5
lectures
In the fifth week of the course, we have a preliminary understanding of digital photography related content, such as lighting and type introduction, and lighting considerations. The teacher also attached a video on how to set up a DIY photography studio at home, which is very interesting. This week's assignment is to make a digital imaging exercise, I successfully completed the assignment according to the requirements of the topic.
tutorial

EXPOSURE: In photography, exposure is the amount of light which reaches your camera sensor or film.

The main parts of the camera:
Camera body:
Shutter
Image sensor
LCD screen
Camera lens:
Aperture/ Iris
The camera body is a light proof box.

There are only two camera settings that affect the actual “luminous exposure” of an image: shutter speed and aperture. The third setting, camera ISO, also affects the brightness of your photos.

FOCAL LENGTH: Focal length is the measurement (in millimeters) from the optical center of a camera lens to the camera’s sensor.

DEPTH OF FIELD: The proportion of the image that is reasonably sharp and in focus.
practical


reflection
In this class, we learned the functions of the camera and applied it in the homework. I finished the homework according to the teacher's requirements, and I felt very happy to learn new knowledge
Week6
lectures
In the sixth week, we came into contact with poster design. The content prepared by the teacher for us is the seven principles of poster design. He also introduced us to the basics of photography. In this week's class, the teacher taught us how to color black and white photos, and assigned us homework. The teacher also attached a PPT tutorial so that we could better master this skill.
tutorial
1.EMPHASIS
The principles of design are the rules a designer must follow to create an effective and attractive
composition.
The fundamental principles of design are: Emphasis, Balance and Alignment, Contrast, Repetition,
Proportion, Movement and White Space.
2. Balance and alignment
The principles of design are the rules a designer must
follow to create an effective and attractive composition.
The fundamental principles of design are: Emphasis,
Balance and Alignment, Contrast, Repetition, Proportion,
Movement and White Space.
Contrast is what people mean when they say a design “pops.” It comes away from the page and
sticks in your memory.
Contrast creates space and difference between elements in your design. Your background needs to be significantly different from the color of your elements so they work harmoniously together and are readable.
Movement is controlling the elements in a composition so that the eye is led to move from one to the
next and the information is properly communicated to your audience.
Movement creates the story or the narrative of your work.
practical


reflection
I benefited a lot from the knowledge of poster design, and the teacher taught us how to color black and white photos, which was a very interesting process. I feel very happy when I do my homework.
Week7
lectures
In the seventh week, the teacher explained the relevant knowledge of double exposure and attached a slide tutorial. According to the teacher's tutorial, I mastered the content and successfully completed the assignment. This is my homework.
tutorial
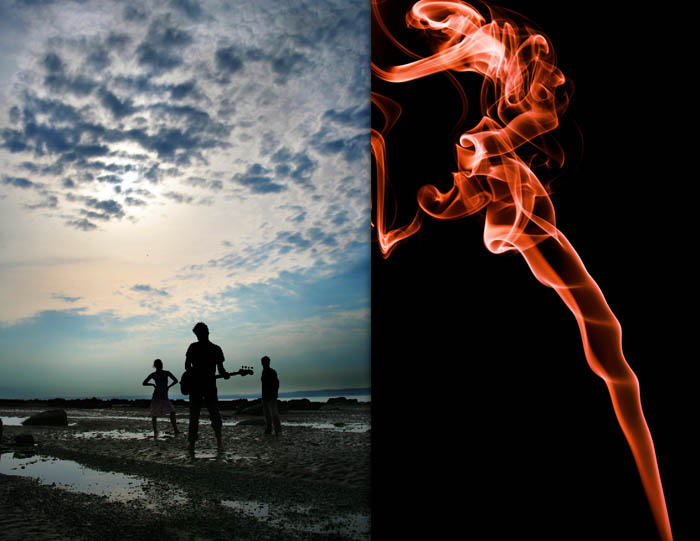
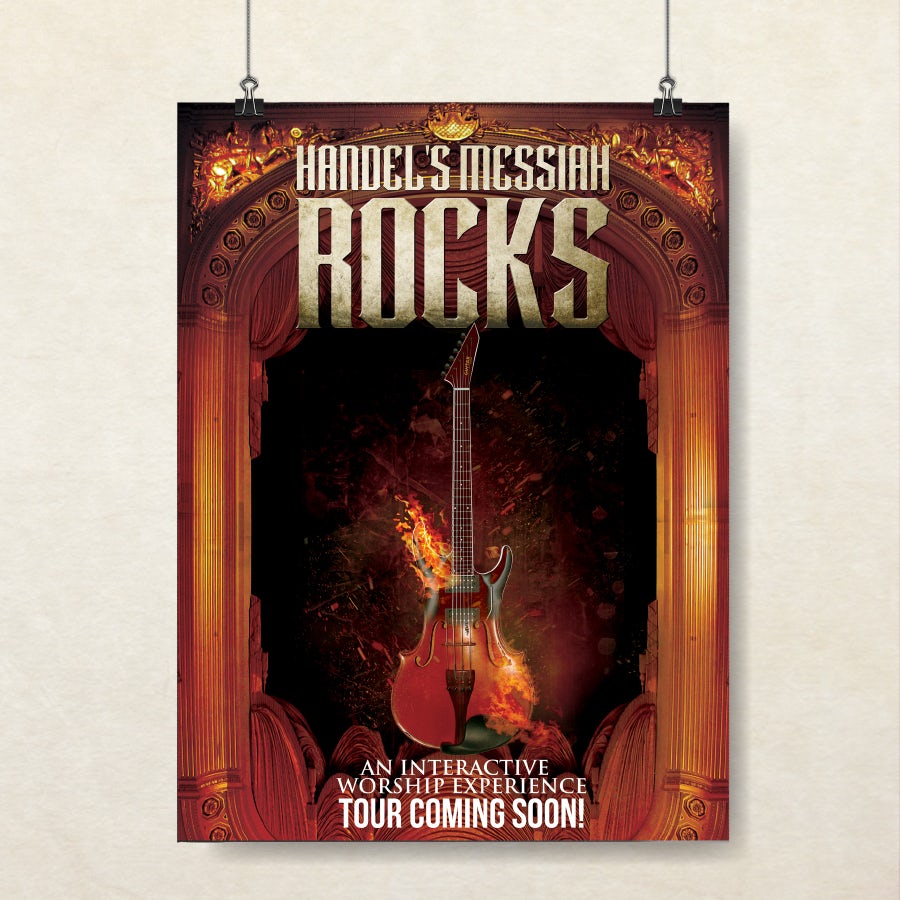
A particular blending mode works really well on more difficult subjects like glass, smoke, fire and lightning.
Take these images for example.
How to combine the smoke on top of the image of the musicians? A real mess
could be made of this and it could become very difficult and time consuming.
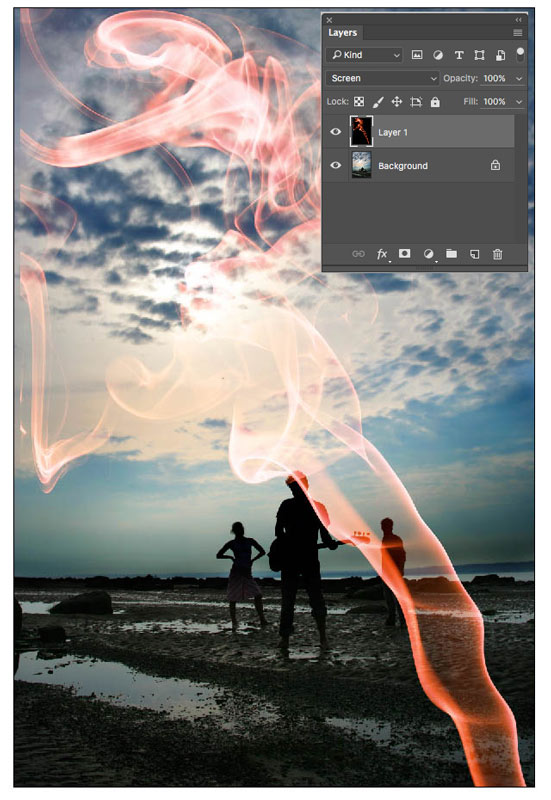
Here’s a quick guide:
Select the Layer 1 (Fire) to be on top of the Background (Musicians)
Go to the Blending Modes option
Select “Screen”
As a result, all of the pixels on the fire will be selected as Screen blending mode.
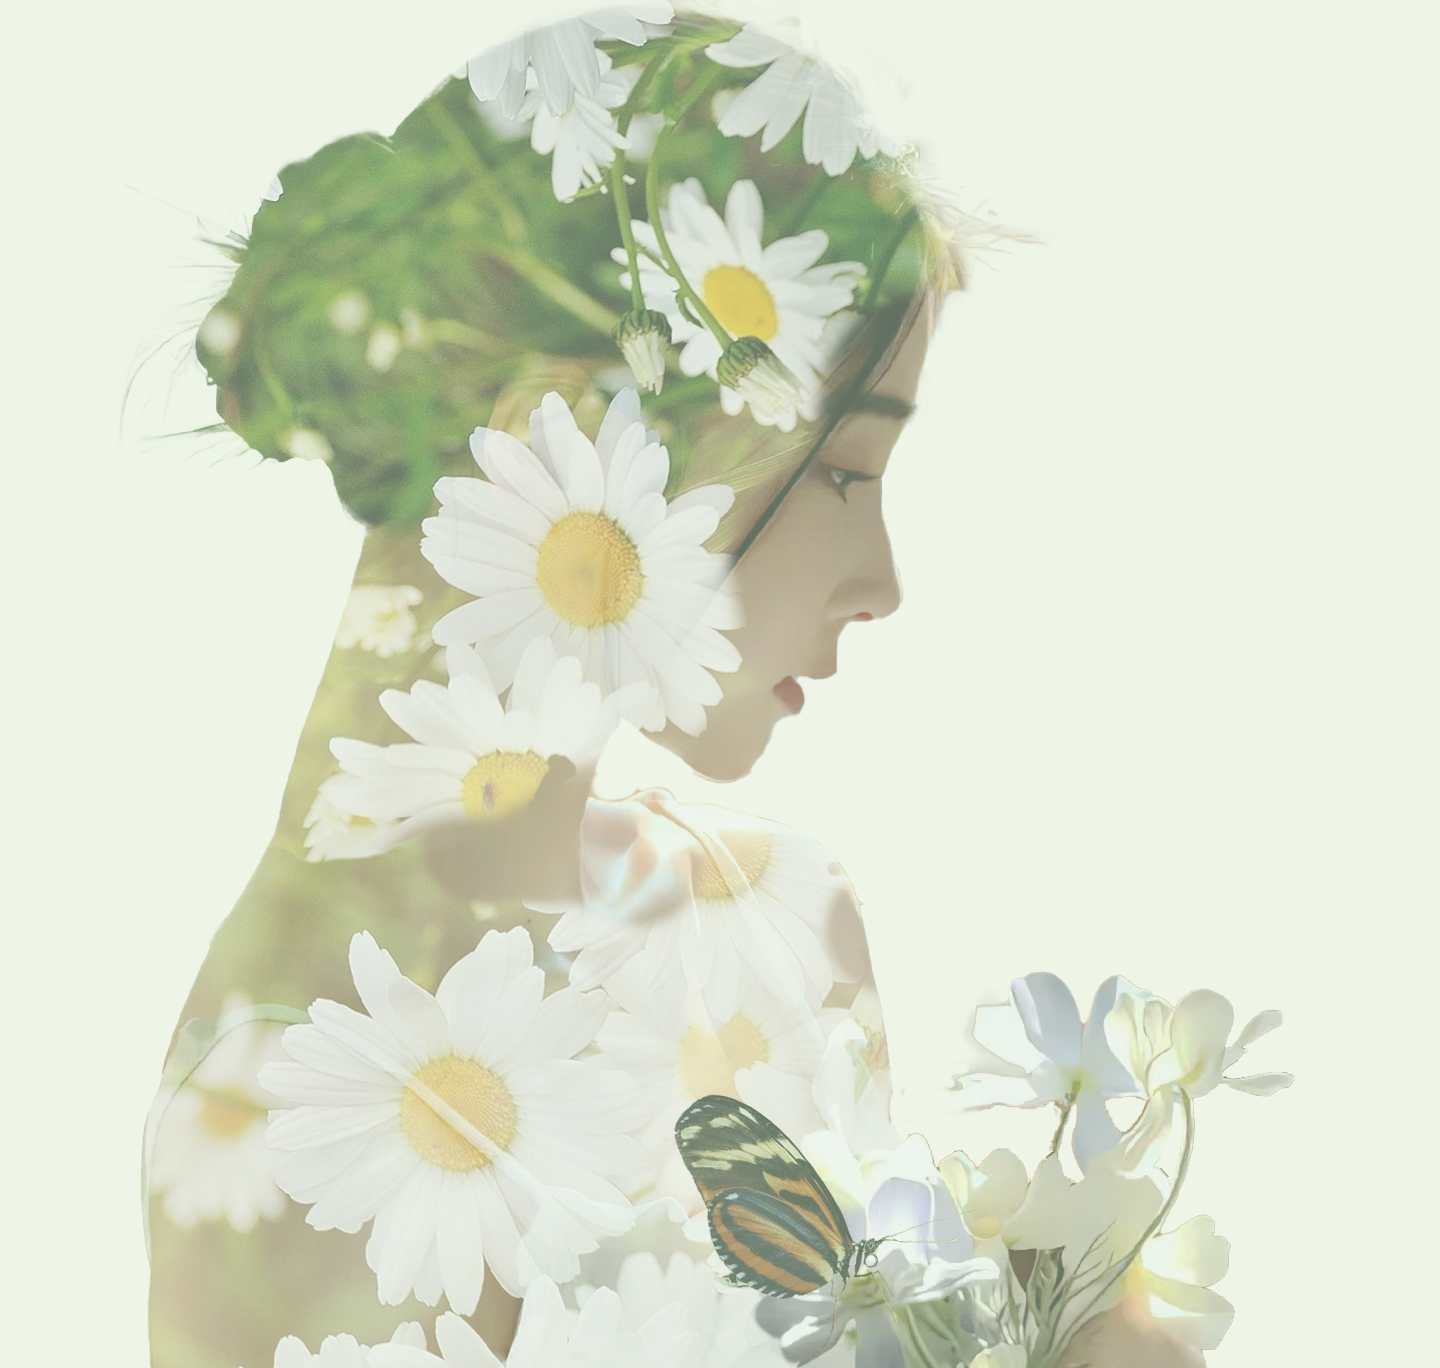
PART 1 (DOUBLE EXPOSURE FOLLOW TUTORIAL)
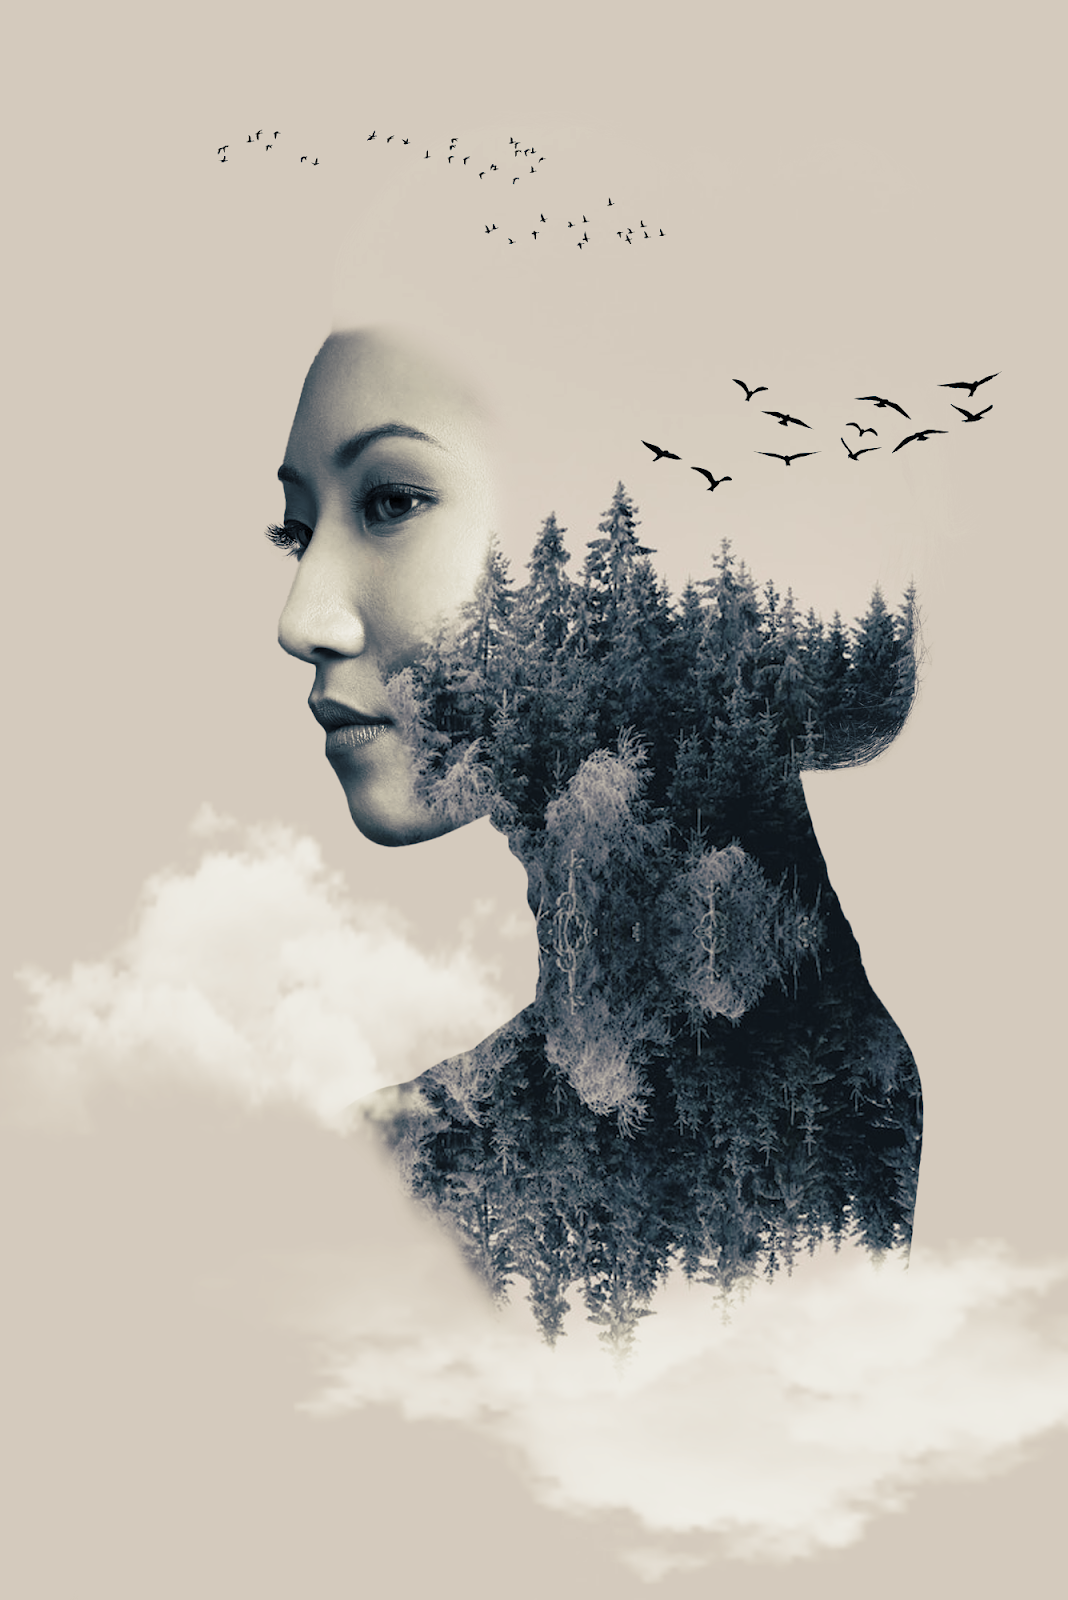
PART 2 (MY OWN DOUBLE EXPOSURE)
reflection
Week8-9
lectures
Week 8 through 9 was digital Surrealism, with content on realism versus surrealism, image manipulation using digital photography, and the teacher explaining how to create loop animations for ig stories.
tutorial
Realism Versus Surrealism

Realism
Takes subject matters of the ordinary and common world which we call "reality."
It almost always takes a non-exotic and non-extraordinary subject matter and theme.
There is no need to think outside of the box, as that is not "real."
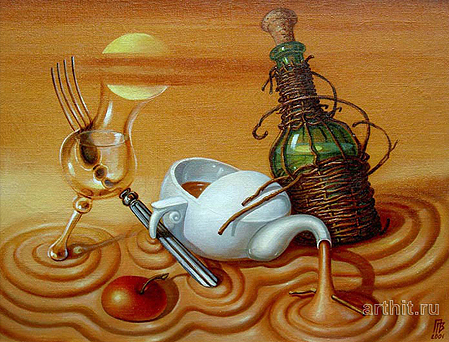
Surrealism
A twist on Realism. It explores the subconscious mind, with subject matters concentrating on dream-images and often aims to distort the ordinary and what we call reality
reflection
During this period, we came into contact with surrealism, which I found very interesting. I have always been interested in Surrealism. After the teacher's explanation, I have a deeper understanding of it
Week10
lectures
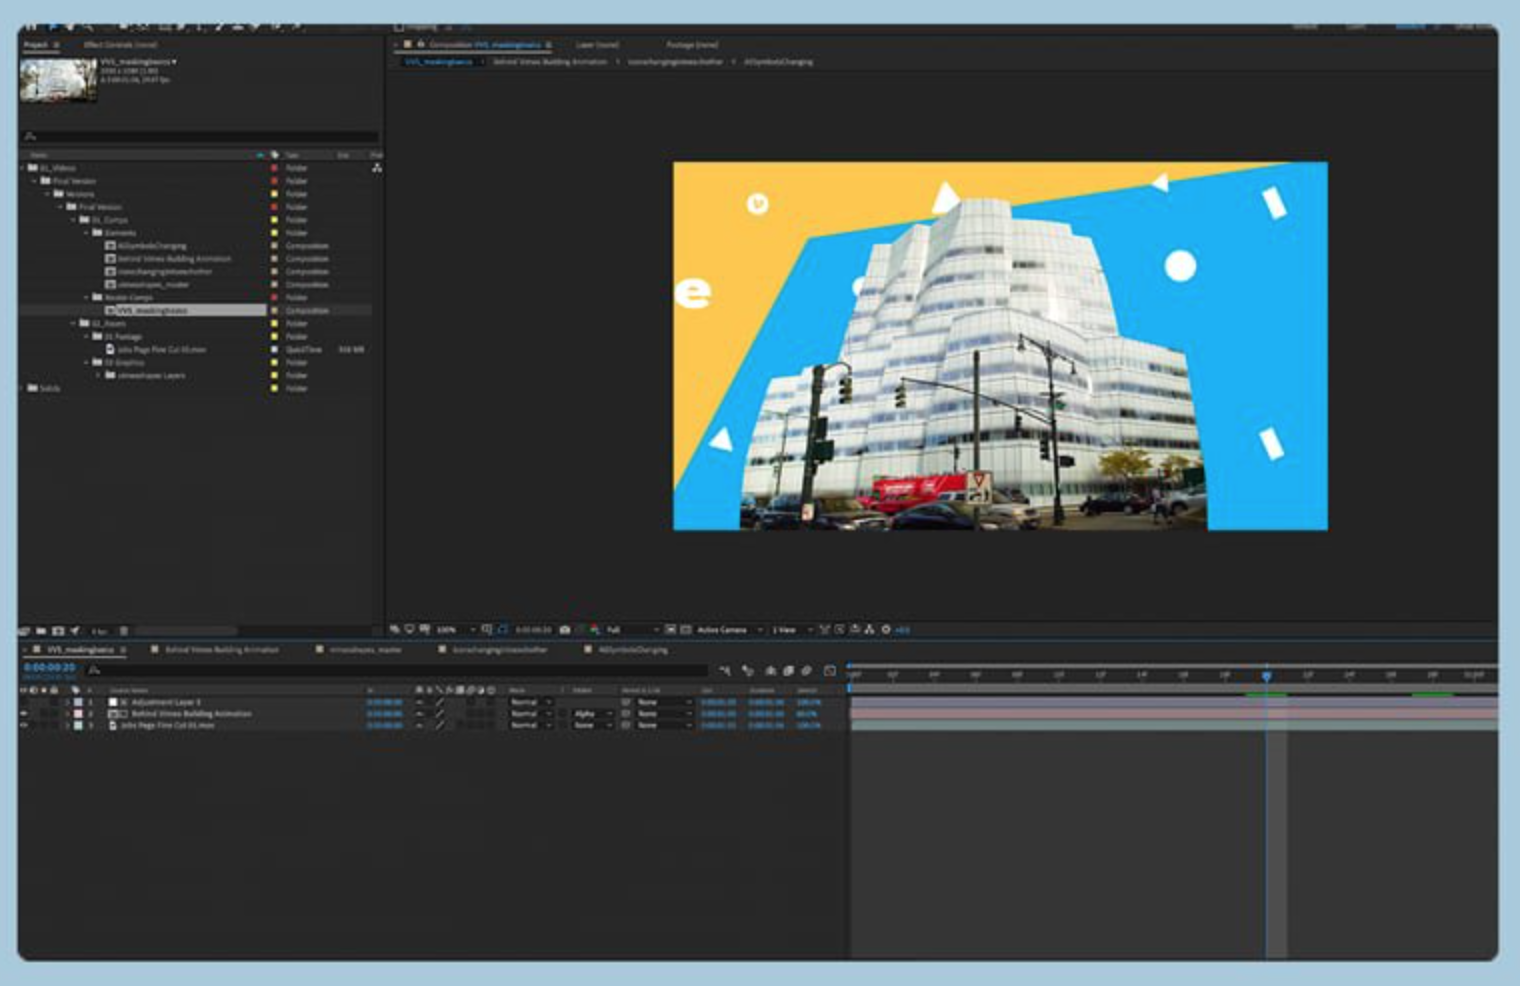
In the 10th week, we learned about ae. The teaching content was how to link Photoshop layers to ae, and how to understand the composition concept from still image to moving image. The teacher also explained the design of dynamic fonts.
tutorial


the lecture
What is After Effects?
Adobe After Effects is a 2.5D animation software used for animation, visual effects, and motion picture compositing.
After Effects is used in film, TV, and web video creation.
This software is used in the post-production phase, and has hundreds of effects that can be used to manipulate imagery. This allows you to combine layers of video and images into the same scene.


progress 3
practical
my YouTube link:
https://www.youtube.com/shorts/6CwCIegDzUY
reflection
In this week's study life, I came into contact with AE for the first time. Before, I thought it was very difficult to make videos, but after the teacher's explanation, I found that it was not as difficult as I thought, but I still failed to master the content taught by the teacher, I need further contact
Week11-14
lectures
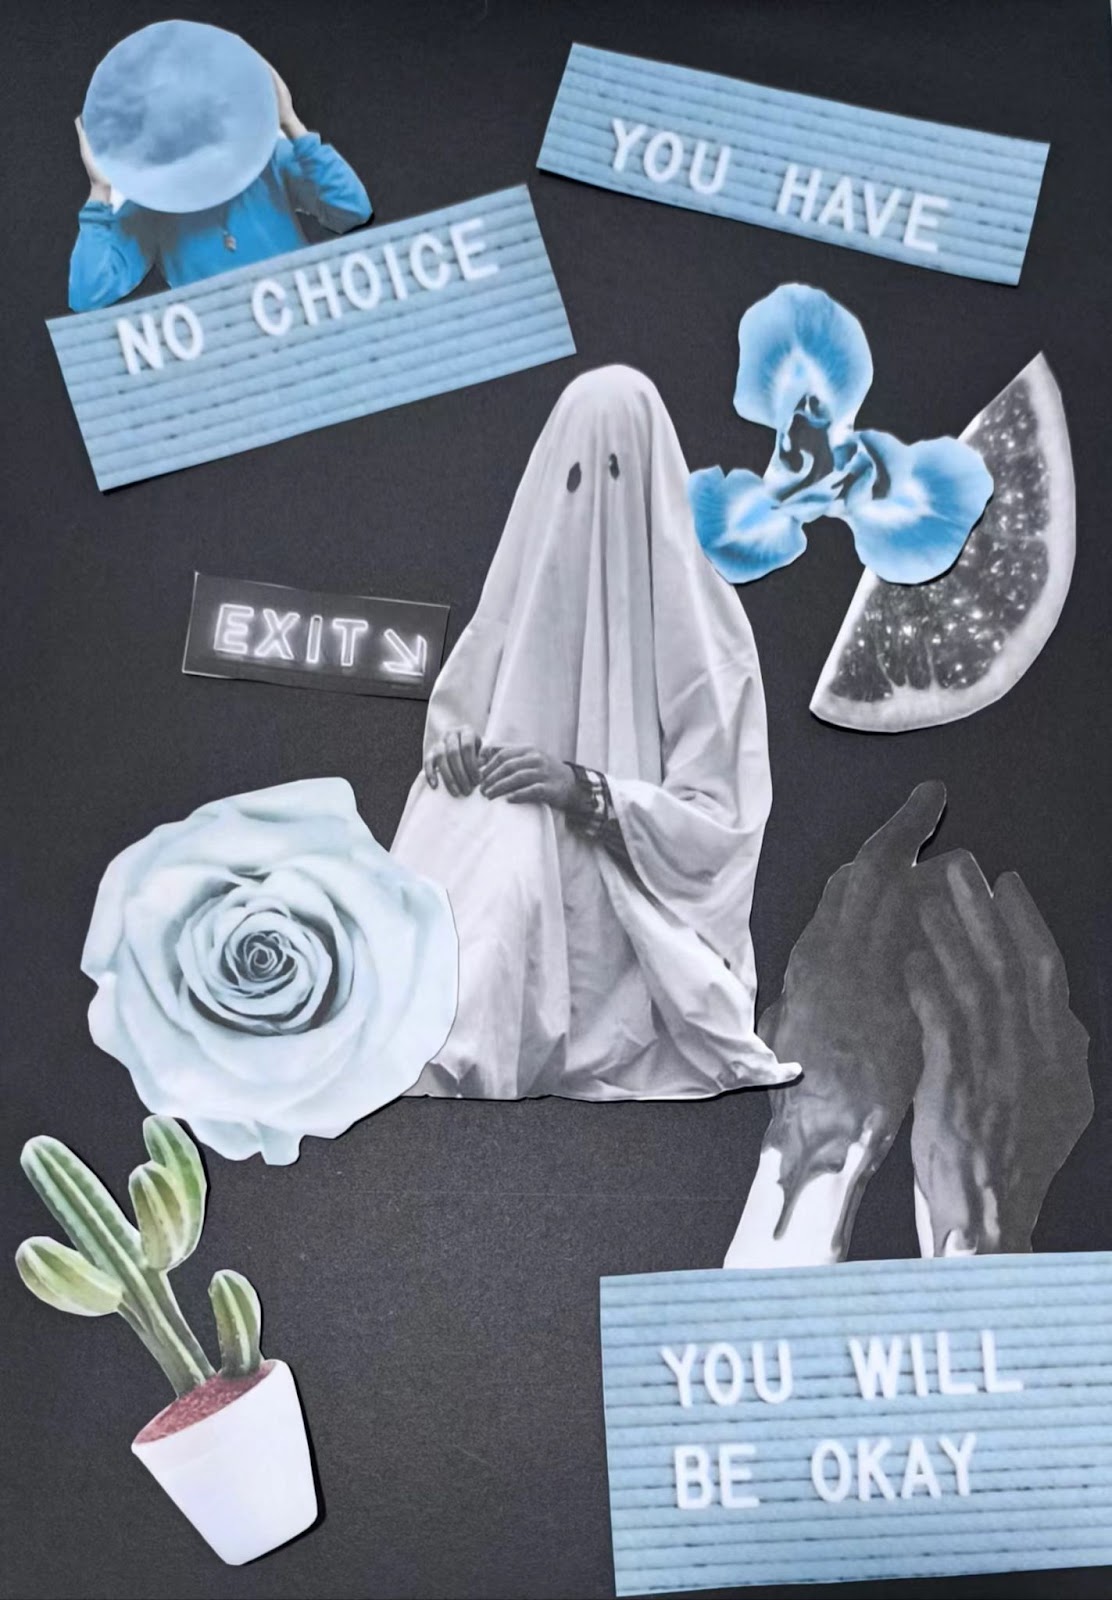
From the 11th week to the 14th week, we finished the final project, which was named "self" and its content was related to the self. I completed this assignment according to the teacher's requirement. After analyzing the self, I chose to calm the mind as the theme. I am a person prone to negative emotions, so I think it is a very important thing to calm down the mood in time. I hope to encourage myself and improve myself through this assignment.
tutorial


What is After Effects?
Adobe After Effects takes a different approach for creating movement.
Motion graphics animation works by manipulating vector and rasterized art to create and tell a story.
You can integrate physical based media as well through photographs and videography.
practical
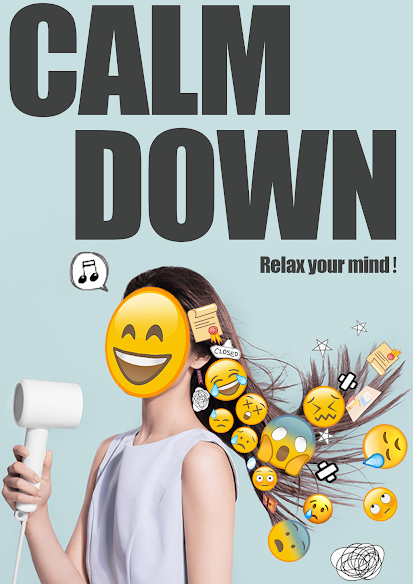
TITLE: relax your mind
ARTIST STATEMENT:
We are in an era of rapid development, many people can not keep up with the pace of The Times, easy to produce anxiety, depression, pain and other bad emotions. We need to adjust properly to turn these negative emotions into motivation. Put a flat attitude, positive, self-achievement, towards the future.
my YouTube link:
https://www.youtube.com/shorts/EDvdfqZ4NvE
reflection
In these weeks, the teacher did not explain the new content, but summarized the lessons of the previous weeks. We need to finish our final homework during this time. We were free to create without subject matter, but the final assignment had a lot of content, so it took me a lot of time, but it made my life more fulfilling, and I successfully completed the assignment. At the same time, I am looking forward to the follow-up study and life, and learning new knowledge is also very meaningful. Thanks for the teacher's feedback and patient guidance!


评论
发表评论